PHP Development on Windows
Getting started with PHP using WAMP and VS-Code

Getting started with PHP is easy once you have a few tools installed and running on your machine. You will need an editor to write your PHP code, and you will need some software to run that code so that you can display your website.
You can use any text editor, but having one that understands PHP and other web-based languages is handy. For this, a good powerful and free editor is Visual Studio Code. Download it from here and install it.
Because web browsers do not understand PHP, any website written in PHP needs to be hosted on a server that runs some software that will execute the your PHP code to generate HTML. Web browsers know exactly what to do with HTML. To help with this, one can make use of WAMP
Aside: What is WAMP?
WAMP isn't really a single program, but rather it is a package of programs. "WAMP" stands for Windows Apache MySQL PHP. Lets break this down:
Windows: Refers to the fact that the all the software is for Windows. If you were writing and executing your PHP on Linux you would download LAMP (L for Linux) instead of WAMP.
Apache: Apache HTTP Server. Apache is the backbone of much of the internet. In simple terms, it is a program that can receive requests from a web browser, and respond with data. In technical terms, it receives these requests using the HTTP protocol and can respond by sending the browser back HTML, CSS, text, or a file (or anything else you want it to really). Apache however, does not compile and execute PHP by itself, for that, we need something more (see PHP section later)
MySQL: MySQL is a database management system. It lets you store and query data. We won't be using that in this tutorial.
PHP: PHP is the program that can run PHP code. The PHP program integrates nicely with Apache. This means if you install and configure PHP correctly with Apache, then a request that an Apache server receives can trigger a PHP file to be run, and then Apache will send the output (usually HTML), back to the browser. Luckily, WAMP pre-configures PHP with Apache for us.
Install and configure WAMP
Now that we have covered the components of WAMP. Let's get it installed and test that it is working.
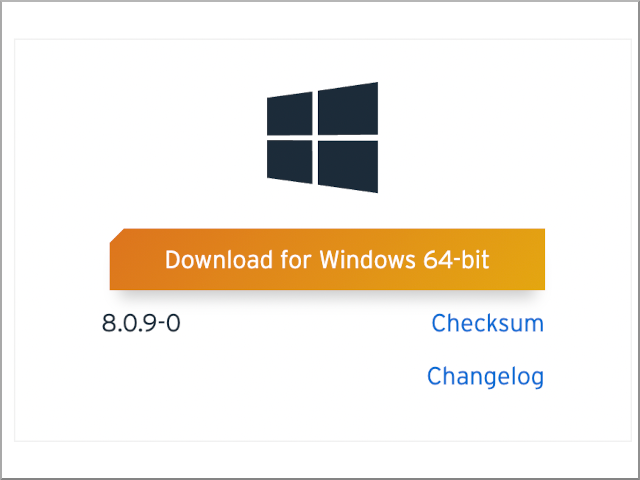
Step 1: Download WAMP
Head over to the Bitnami WAMP download page and download the installation file:
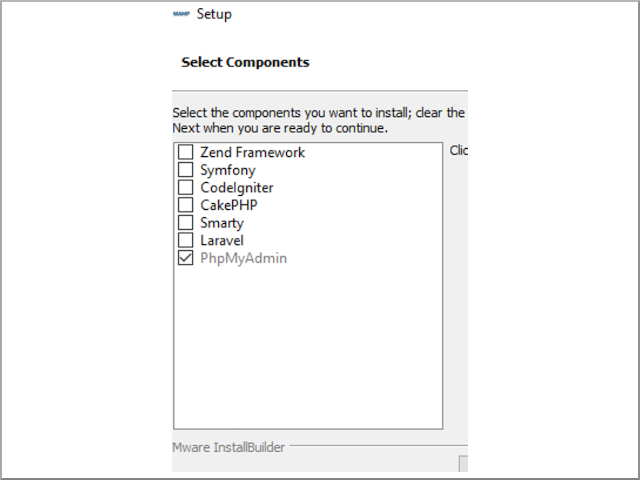
Step 2: Install WAMP
Run the installer that you just downloaded to install WAMP.
(Optional) You can disable all the optional components - we won't be using them in this tutorial.
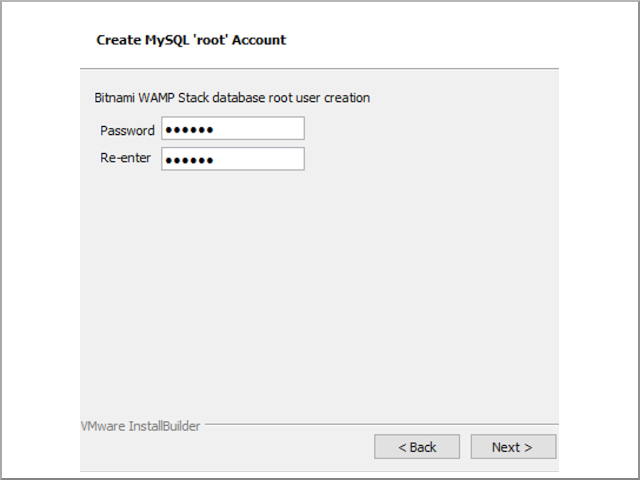
When prompted for a DB password, you can enter any unique password - it isn't critical to remember this password at this time - we won't be using the DB for this tutorial.
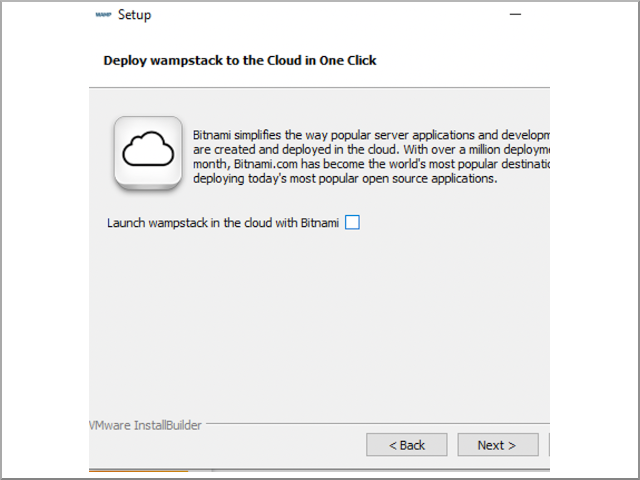
(Optional) Disable deploy to cloud. We are only going to be working locally.
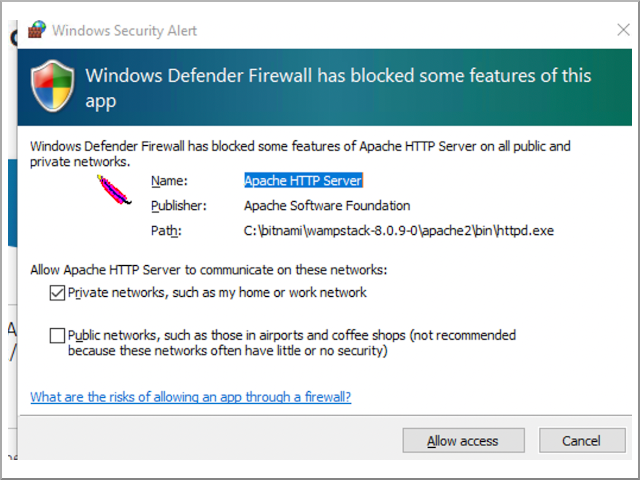
If you get a windows firewall pop-up, allow it for private networks by default
Once your installation is complete, your default web browser will be opened to display your new local server! Note down the WAMP installation directory.
Step 3: Disable PHP Cache
By default, WAMP configures PHP to cache the results of your code. This means that if you make a change to your code, then you have to wait a while before that change will reflect in your browser when refreshing your page. Since that significantly slows down development, we are going to disable the cache.
Open Windows Explorer and navigate to the WAMP installation directory that you noted down in the previous step. Once there, open the "php" sub-directory, and then open the "php.ini" file. By default this file will open in Notepad.

Open the find window (Ctrl+F) and search for the following string: "opcache.enable=1". It should highlight a line that reads "opcache.enable=1".
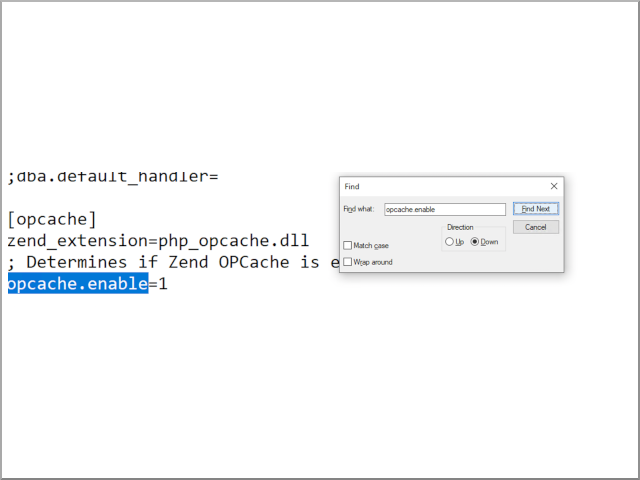
Change this line by replacing the 1 with a 0 - this will disable the PHP cache.

Save the file and close notepad.
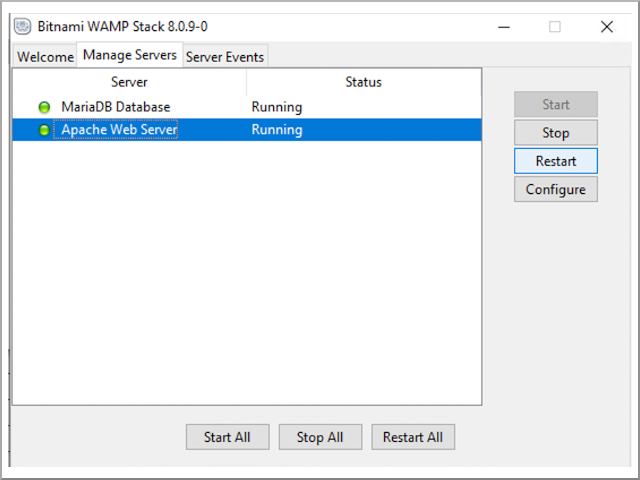
Now go back to the WAMP installation directory and run the "manager-windows.exe" program. A small management window will open.

We need to restart Apache. To do this:
- Select the "Manage Servers" tab.
- Click "Apache Web Server" in the list.
- Click the "Restart" button.
Everything should now be ready for us to make our first page!
Make your first PHP page
Open Visual Studio Code and start a new file. In this file, add the following:
<?php
    print("<h1>Hello PHP!</h1>");
?>
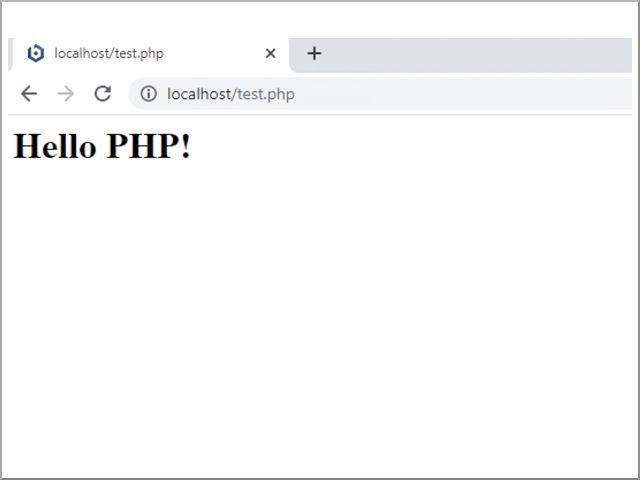
Save this file with the name "test.php" and save it in the following directory: [Your WAMP installation directory]/apache2/htdocs
Now open your favorite web browser and navigate to http://localhost/test.php . You should see a page like below:
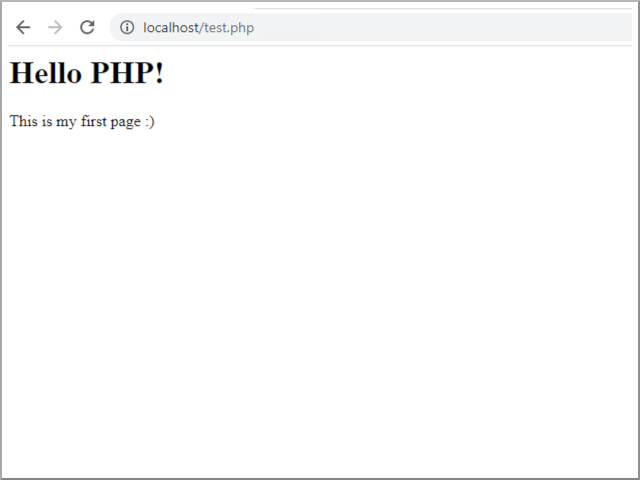
Now if you want, you can make a change and see it reflect in your browser. Go back to VS Code, and change your code to the following:
<?php
    print("<h1>Hello PHP!</h1>");
    print("<p>This is my first page :)</p>")
?>
At this point, if you refresh the page in the browser, the text should update.
Congratulations! You now have the fundamental tools installed to start building your first PHP-powered website!
Behind the tech curtain
In this tutorial, you created and ran your first PHP program that resulted in a web-page. But what actually happens behind the scenes when you visit this weird "localhost" address? Why is our file in that strange directory? Lets dig into that a bit:
Server Root
The directory where you saved your first file ([Your WAMP installation directory]/apache2/htdocs) is known as the server root directory. It is the directory where Apache expects your website files to be located at.
In general, if you place a file in this directory, then you can request that file from the browser. So if you create an HTML file there named about.html, you can visit http://localhost/about.html and your browser will render that HTML file.
This is exactly what we did in the tutorial with our PHP file. The only difference is that Apache invoked the PHP interpreter to execute the code in the PHP file first, and then returned the result to the browser instead of the file contents.
You can go ahead and edit anything in that directory or place the source of an existing website there so that you can work on it.
What is localhost?
In the tutorial, you were able to view your page by visiting the address "http://localhost/test.php" - you may be asking yourself what this is.
To explain this fully, we need to touch on computer networks a little bit. Every computer on a network has a unique address (known as an IP address). When you type a URL into your browser, the IP address of that URL is looked up first, and behind the scenes the IP address is used.
"localhost" is pre-configured in most operating systems as the name for the IP address 127.0.0.1 - this is the IP address that always refers to the local machine you are currently using. So "localhost, is just a more intuitive way to refer to you own machine.
I have simplified this explanation quite a but and left out a lot of other details (ports and DNS to name a few). I will cover these topics in a future tutorial.
Happy coding
- Karl